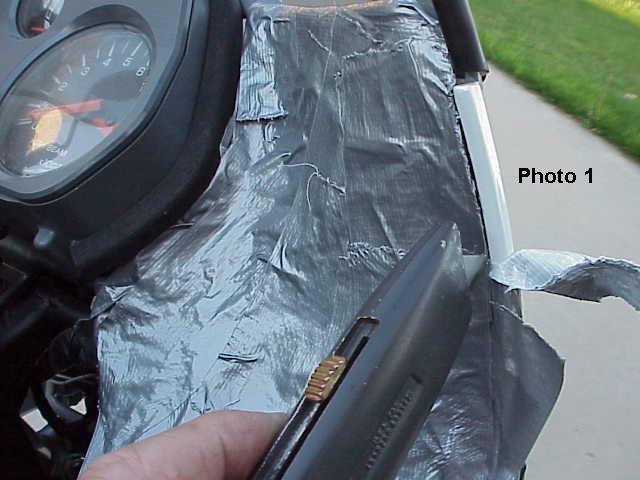
 Photo 1:
Position as many parts as you have, on the bike. Put them
together with duct tape, lapping over the edges onto good
surface. Use MANY, MANY layers of duct tape (a whole roll
is cheaper than the part!). Very large parts can be
stiffened with strips of poster board, between the layers
of tape. Use the tape to form the part back to it's
original shape. Cut the edges loose with a razor blade or
knife, and remove the part.
|
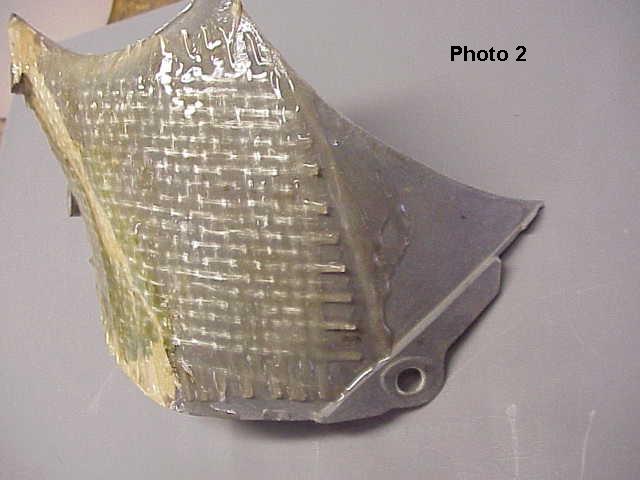 Photo 2:
Cover the back of the part with 1 or 2 layers of 24 oz.
fiberglass cloth and epoxy glue. Do NOT use polyester
(fiberglas) resin. It shrinks as it cures and will pull
your part out of place. Remember, more layers can be
added, after the epoxy starts to cure, as long as it
still feels tacky. Don't worry about leak through, the
duct tape will hold it flat, and the glue cleans up with
lacquer thinner and sandpaper.
|
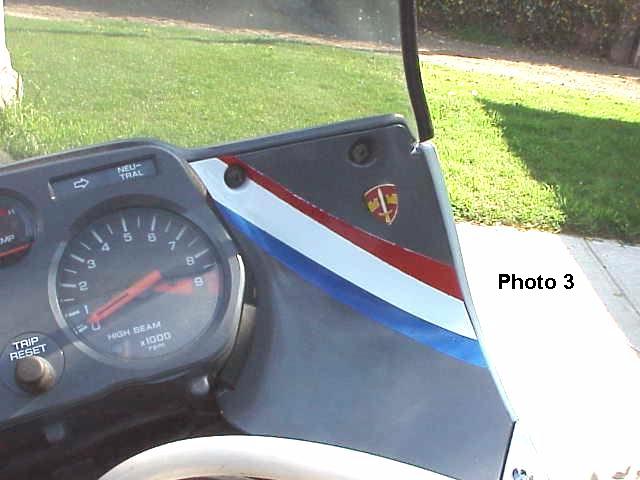 Photo 3:
Carefully remove the duct tape, using lacquer thinner to
soften the glue if necessary. Fill cracks and holes on
the finish side, then paint to your satisfaction. A nice
method to hide filled cracks is shown. I used our
national colors, fanned out sufficiently to
"hide" the damage repair. The emblem is a
personal reminder of lost brothers, and my unit in
Vietnam. It plugs a hole punched through an otherwise
undamage area. You can use stickers, decals, etc. to hide
small holes that won't fill well.
|